Kao sto mnogi znaju ovo je verovatno i najcesci kvar koji se desava kolima sa ovim motorom koji uzrokuje velike probleme u voznji. Simptomi mogu biti poprilicno raznovrsni a obicno ukljucuju nagle gubitke snage tokom voznje, povremena trzanja, crn dim iz auspuha i sl. U principu cini mi se da nema nekog striktnog pravila kada je izrazenije, nekome pravi vise problema kad je motor hladan, nekom kad je vruc, nekom stalno pravi problem a nekom samo povremeno...
Sve u svemu, posao nije komplikovan i kada ga radite prvi put zahteva oko 2 sata, drugi put mozete sve zavrsiti i za recimo sat.
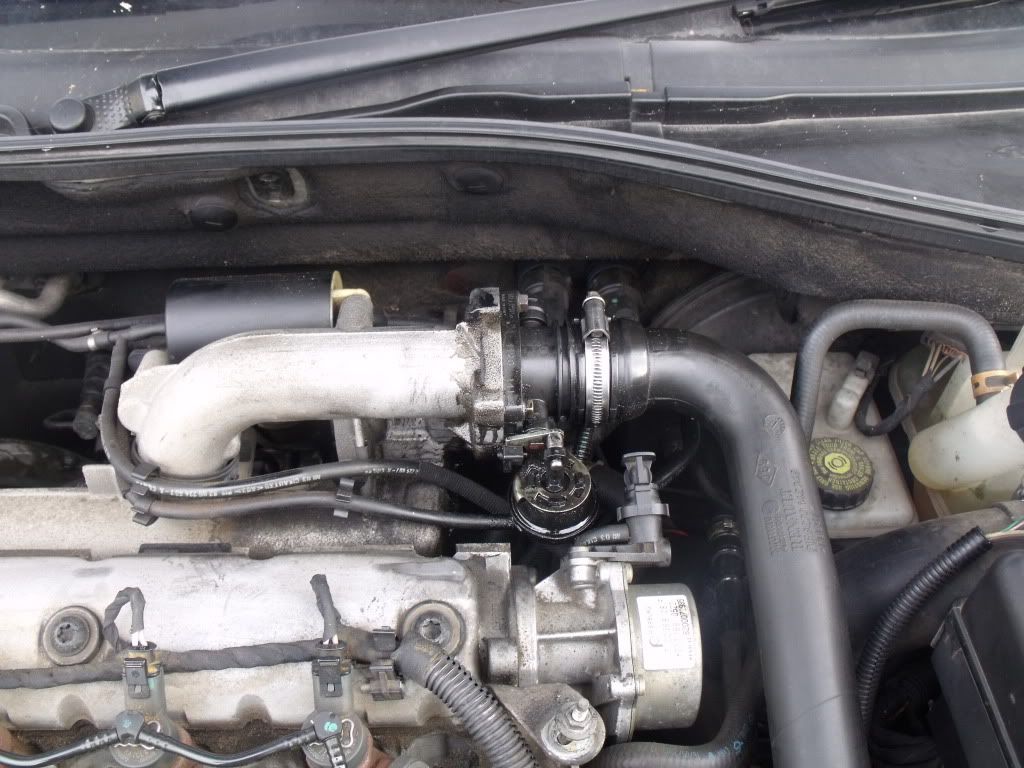
Evo odlicnog uputstva, koje naravno nisam ja pravio, ali mislim da je zaista sjajno:
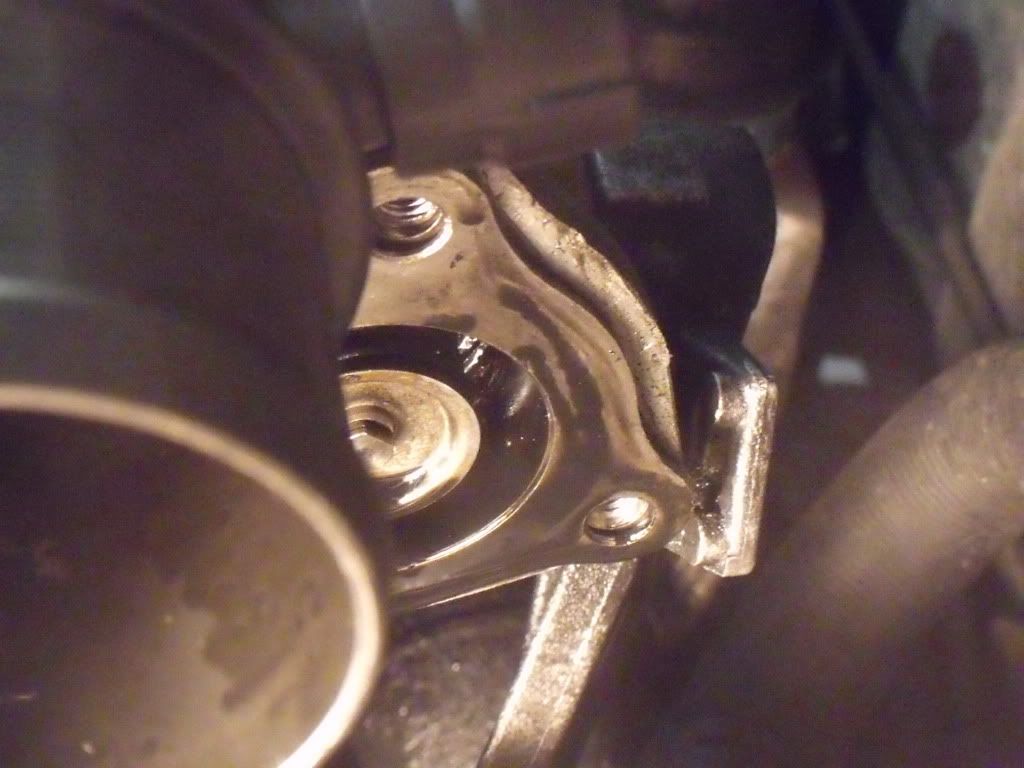
Nekoliko stvari bih jos dodatno napomenu. Prvo, u uputstvu je naglaseno da pazite da vam ne spadnu dihtunzi kada odvajate ventil od ostatka, ja bih jos jednom ponovio JAKO PAZITE!!! Medjutim, sto je najzanimljivije tih dihtunga i nema na svim kolima, tj na 147 ima, dok su na 159 malo redizajnirali tacke spajanja pa dihtunga uopste nema.
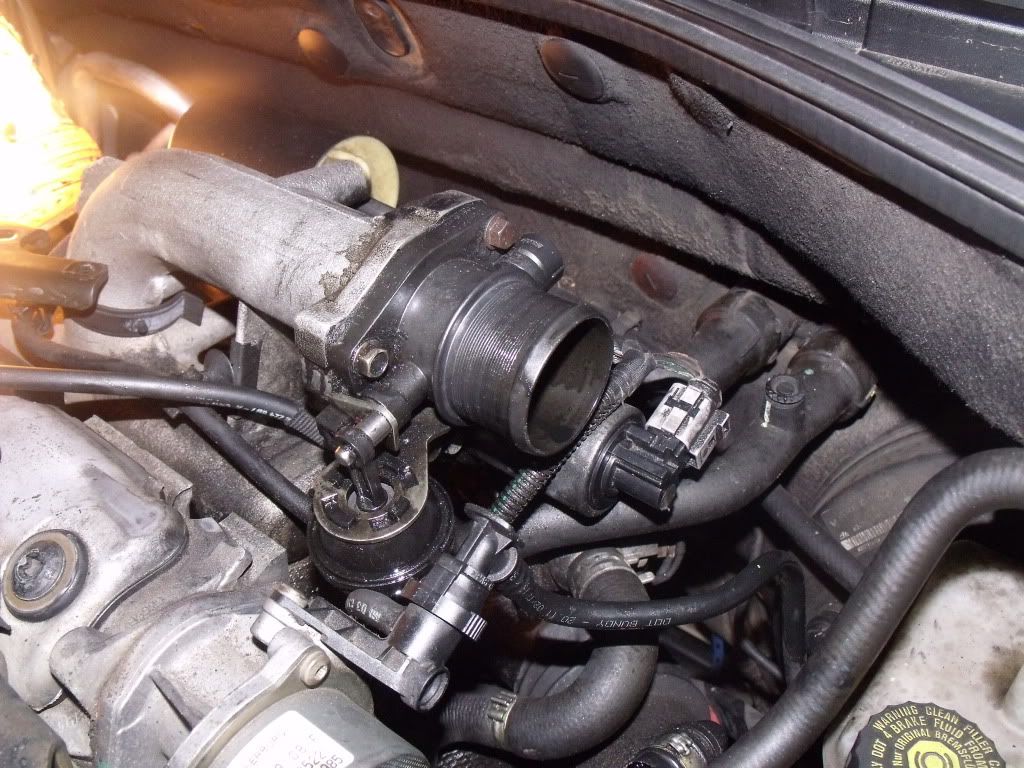
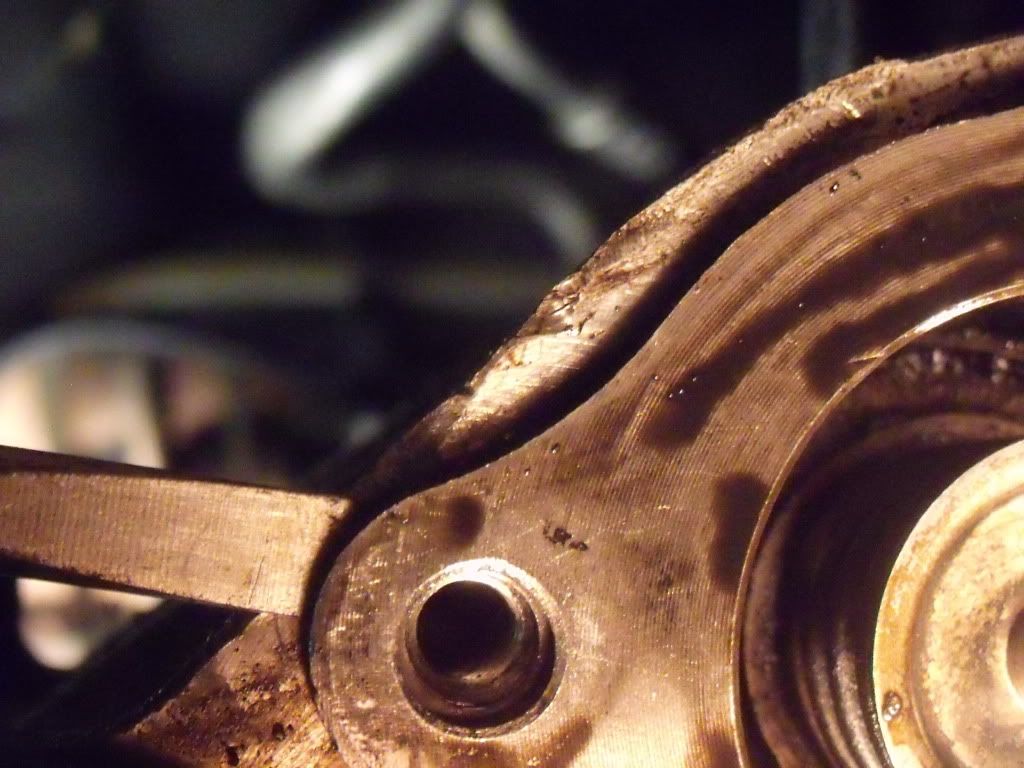
Zatim kada skinete ventil, probajte sto pazljivije da srafcigerom ocistite ulaz na motoru i to tako da sva garez ispada napolje, a ne u usisnu granu (ovo ce biti tesko).
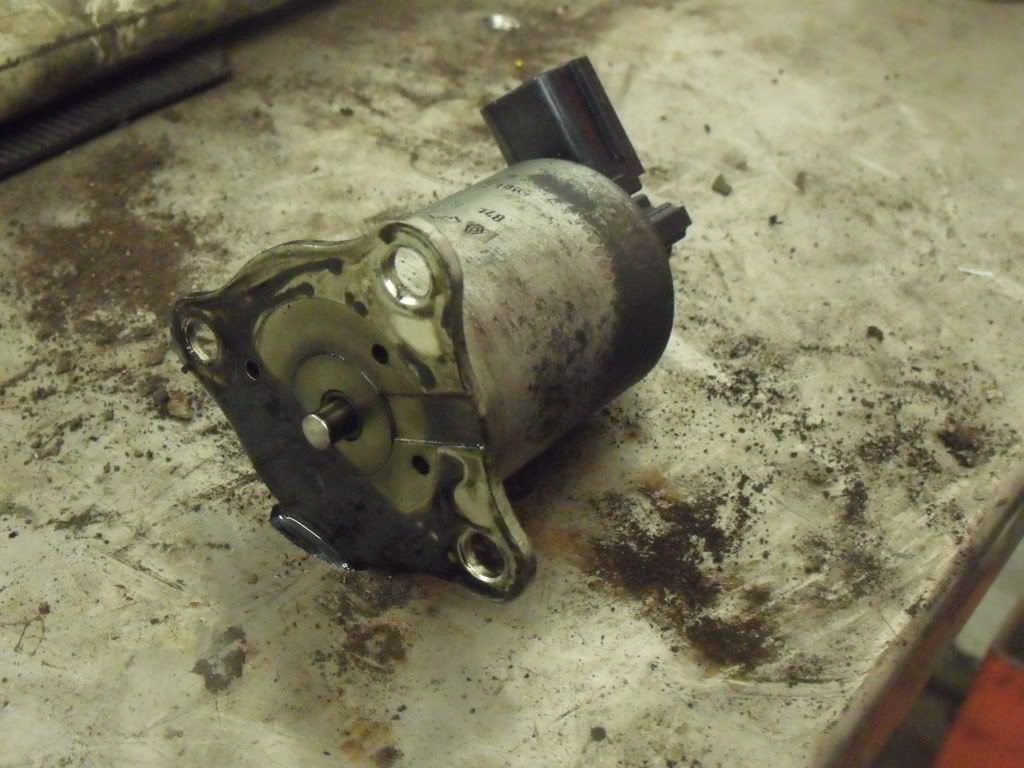
Kada izbijate solenoid iz ventila, ne plasite se da opalite momacki, pa makar i polomili okolnu plastiku, nije problem, lako cete to zalepiti trpanjem gomile lepila.
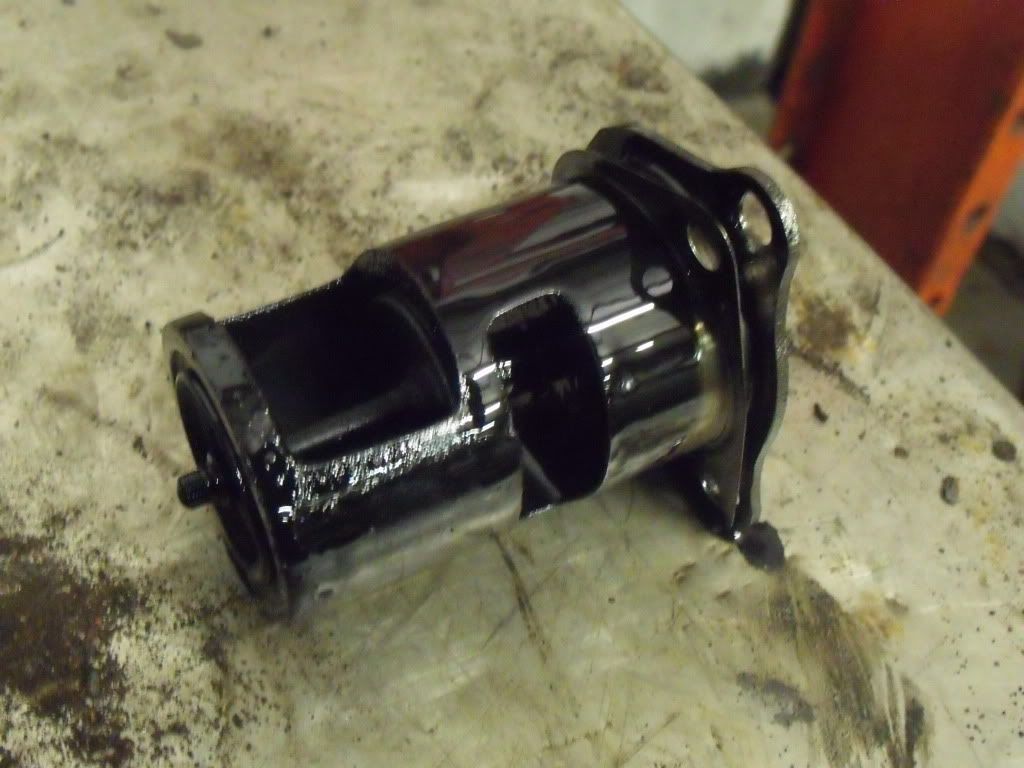
Takodje bih napomenuo, da licno smatram, da vam je potpuno svejedno dal kupili novi EGR ili ocistili stari, tj nema nikakve garancije da ce novi duze funkcionisati od ociscenog starog. Jednostavno kad ga rastavite i shvatite u cemu je problem znacete o cemu pricam, kada ga sredite bice ko nov.
I za kraj, kada sve namontirate i pokusate da upalite auto ne ocajavajte ako nece iz prve da upali (mislim da je ovo zbog one cadji koja upadne u motor tokom ciscenja ulaza u motor). Budite uporni u verglanju i dodajte gas, na kraju ce upaliti (ja sam se bas naverglao, sam poceo da verglam delovalo je kao da nikad nece upaliti totalno onako prazan zvuk, a onda polako povremeno se cuje kako detonira, pocinje sve vise da se trese i na kraju upali). Ukoliko bude problema sa paljenjem auto ce na pocetku dimiti ko nenormalan, drzite gas svo to vreme, kako vreme protice izduv ce biti sve cistiji, kad se ocisti auto je spreman za voznju
Ova prosta operacije popravke je u stanju da potpuno preporodi auto i mislim da nema razloga da se za ovo tera auto kod majsotra. Odnosno svakom ljubitelju auta i majstorisanja ce cela ova operacija biti poprilicno zabavna